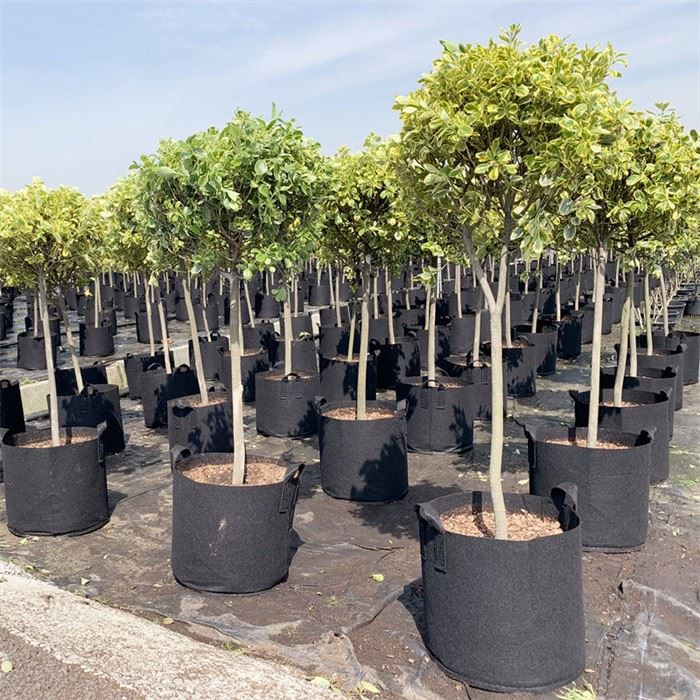
Transplanting seedlings into a 20 gallon grow bag is a rewarding process that allows you to nurture your plants in a controlled and efficient environment. As a supplier of 20 Gallon Grow Bag, I've witnessed firsthand the benefits these bags offer to both novice and experienced gardeners. In this blog, I'll share my insights on how to successfully transplant seedlings into a 20 gallon grow bag, ensuring your plants thrive and yield a bountiful harvest.
Understanding the Benefits of a 20 Gallon Grow Bag
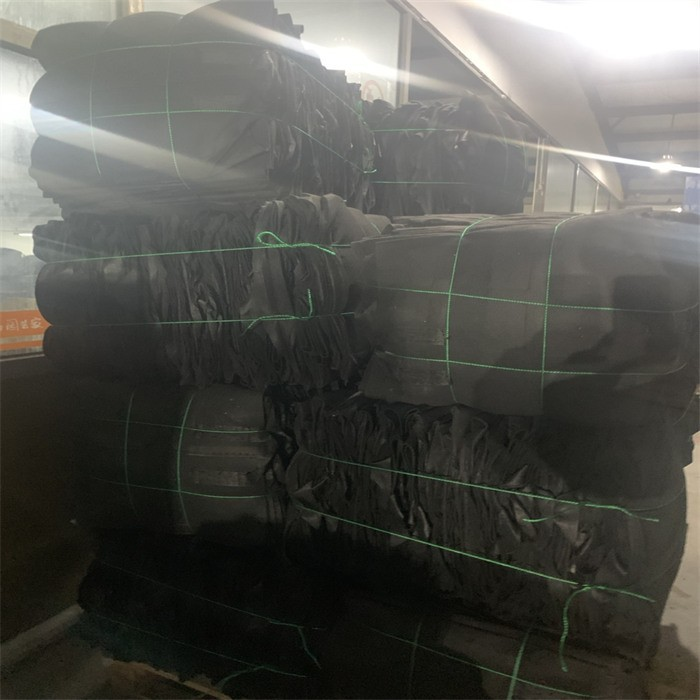
Before we dive into the transplanting process, let's take a moment to understand why a 20 gallon grow bag is an excellent choice for your plants. These bags are typically made from high-quality fabric, such as non-woven polypropylene, which offers several advantages over traditional pots and containers.
- Aeration and Drainage: The porous fabric of the grow bag allows for excellent air circulation and drainage, preventing waterlogging and root rot. This promotes healthy root growth and reduces the risk of plant diseases.
- Portability: Unlike heavy clay or plastic pots, 20 gallon grow bags are lightweight and easy to move around. You can easily reposition your plants to take advantage of sunlight or protect them from harsh weather conditions.
- Cost-Effective: Grow bags are generally more affordable than traditional pots, making them a budget-friendly option for gardeners. They also have a longer lifespan, so you can reuse them for multiple growing seasons.
- Root Pruning: The fabric material of the grow bag naturally prunes the roots as they reach the edges of the bag. This encourages the development of a dense, fibrous root system, which is essential for strong and healthy plants.
Choosing the Right Seedlings
The first step in transplanting seedlings into a 20 gallon grow bag is to choose the right seedlings. Look for healthy, robust seedlings that are free from pests and diseases. Consider the following factors when selecting your seedlings:
- Size: Choose seedlings that are the appropriate size for your grow bag. Avoid transplanting seedlings that are too large or too small, as this can affect their growth and development.
- Variety: Select seedlings that are suitable for the growing conditions in your area. Consider factors such as sunlight, temperature, and soil type when choosing your plant varieties.
- Health: Inspect the seedlings carefully for any signs of damage or disease. Look for healthy leaves, stems, and roots, and avoid seedlings that are wilted, yellowed, or have brown spots.
Preparing the Grow Bag
Once you've chosen your seedlings, it's time to prepare the grow bag. Follow these steps to ensure your grow bag is ready for transplanting:
- Choose a Location: Select a sunny location for your grow bag that receives at least 6-8 hours of sunlight per day. Make sure the area is well-drained and free from obstacles.
- Fill the Grow Bag: Fill the grow bag with a high-quality potting mix that is rich in organic matter. You can also add a slow-release fertilizer to the potting mix to provide your plants with the nutrients they need to grow.
- Moisten the Soil: Before transplanting your seedlings, moisten the soil in the grow bag to make it easier to work with. Use a watering can or hose to gently water the soil until it is evenly moist.
Transplanting the Seedlings
Now that your grow bag is prepared, it's time to transplant the seedlings. Follow these steps to ensure a successful transplant:
- Dig a Hole: Use a trowel or your hands to dig a hole in the center of the grow bag that is slightly larger than the root ball of the seedling.
- Remove the Seedling from the Container: Gently remove the seedling from its container, being careful not to damage the roots. If the roots are tightly packed, you can gently loosen them with your fingers.
- Place the Seedling in the Hole: Place the seedling in the hole and fill in the surrounding soil with the potting mix. Make sure the soil is firmly packed around the base of the seedling to prevent it from toppling over.
- Water the Seedling: After transplanting the seedling, water it thoroughly to help settle the soil and remove any air pockets. Use a watering can or hose to gently water the soil until it is evenly moist.
Caring for Your Transplanted Seedlings
Once you've transplanted your seedlings into the 20 gallon grow bag, it's important to care for them properly to ensure their healthy growth and development. Follow these tips to keep your plants happy and thriving:
- Watering: Water your plants regularly to keep the soil evenly moist. Avoid overwatering, as this can lead to root rot and other plant diseases. Check the soil moisture level regularly by sticking your finger into the soil up to the second knuckle. If the soil feels dry, it's time to water your plants.
- Fertilizing: Feed your plants with a balanced fertilizer every 2-3 weeks to provide them with the nutrients they need to grow. You can use a liquid fertilizer or a slow-release fertilizer, depending on your preference.
- Pruning: Prune your plants regularly to remove any dead or damaged leaves, stems, or branches. This helps to promote healthy growth and reduces the risk of plant diseases.
- Pest Control: Keep an eye out for pests and diseases and take appropriate measures to control them. You can use natural pest control methods, such as neem oil or insecticidal soap, or chemical pesticides if necessary.
Harvesting Your Crops
Once your plants have matured, it's time to harvest your crops. Follow these tips to ensure a successful harvest:
- Timing: Harvest your crops at the right time to ensure the best flavor and quality. Different crops have different harvesting times, so make sure you do your research and harvest your crops when they are ripe.
- Tools: Use sharp, clean tools to harvest your crops. This helps to prevent damage to the plants and ensures a clean cut.
- Storage: Store your harvested crops in a cool, dry place to keep them fresh for as long as possible. You can also freeze or can your crops to preserve them for later use.
Conclusion
Transplanting seedlings into a 20 gallon grow bag is a simple and rewarding process that allows you to grow your own fresh, healthy produce at home. By following the tips and guidelines outlined in this blog, you can ensure a successful transplant and enjoy a bountiful harvest of delicious fruits, vegetables, and herbs.
If you're interested in purchasing 20 Gallon Grow Bags or other Fabric Pot for Plants, we invite you to contact us for more information. Our team of experts is always available to answer your questions and help you choose the right products for your gardening needs. Whether you're a beginner or an experienced gardener, we have the products and knowledge to help you succeed.
References
- Smith, J. (2020). The Complete Guide to Growing Vegetables in Grow Bags. Gardening Today.
- Johnson, A. (2019). How to Transplant Seedlings into a Grow Bag. Gardening World.
- Brown, C. (2018). The Benefits of Using Fabric Grow Bags. Organic Gardening Magazine.


